Simply shortening the band completely changes the fit of the bra because then the band is always very stretched. Try stretching a bra band: the underwires get bent apart, and this flattens the cup. The underwire doesn´t lie flat on the chest anymore, often the ends dig in and the middle stays away from the ribcage. (like this).
I have already shared a simple tutorial on sewing over the bra band to prevent it from stretching. Today I want to show how to tighten a band even more, using an elastic band. This method is perfect to rescue favourite bras that have stretched with time, or to adjust the fit of a bra that is not available in smaller band sizes. Just remember that this shrinks the band one or two sizes, but it won't make a 28 band out of a 34!
Also, I want to apologise for taking so long to do this! The (lame) reason is that I normally do my mending on my train journey to my university, and somehow I can't imagine sewing a bra and photographing it in public. Finally I managed to do it at home.
Important: please take time to read the post and not just look at the pictures. I have made some mistakes and I explain those in my notes. Also, I am no seamstress, so if you guys have a better way of doing this, let me know!
You will need:
* Pins
* Scissors
* Thread
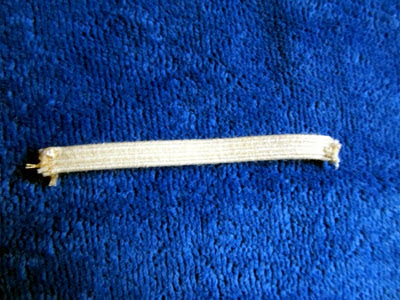
* Elastic: choose a better quality one, the cheap ones stretch out very quickly. To make this project worth your time do buy the elastic from a store with sewing supplies instead of a supermarket. Also, check the elastic for scratchyness. If your bra is dark, get a black one. The elastic I bought was slightly too narrow, choose one that is as wide as the one on the bra.
Cut the elastic to size:
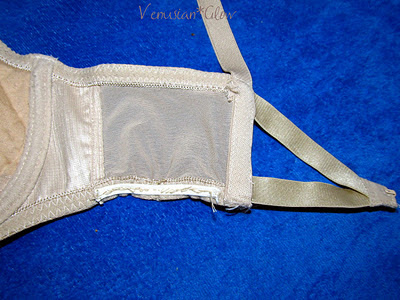
You have to try on the bra and guesstimate this. The elastic has to be shorter than the part of the band you are going to sew it to, but how short depends on how tight you want your band to be. In the photo above you see that in my bra only part of the band was stretchy, so I decided to sew the elastic only to the stretchy part. Also, I did only the bottom part of the band, but if you have a larger bust and need more support, do the top edge of the band as well!
Secure the ends of the elastic:
This step is important because elastic frays a lot. You can't tuck the ends underneath because you'd end up with slightly uncomfortable bumps. I stitched around the ends, but fabric glue would have worked just as well. Update: a great tip from a reader -- to stop the elastic from fraying, light a candle and slightly melt the ends.
Stretch the elastic and pin it to the band:
I pinned the whole thing to the edge of a sofa, but if you have a better idea go with it.
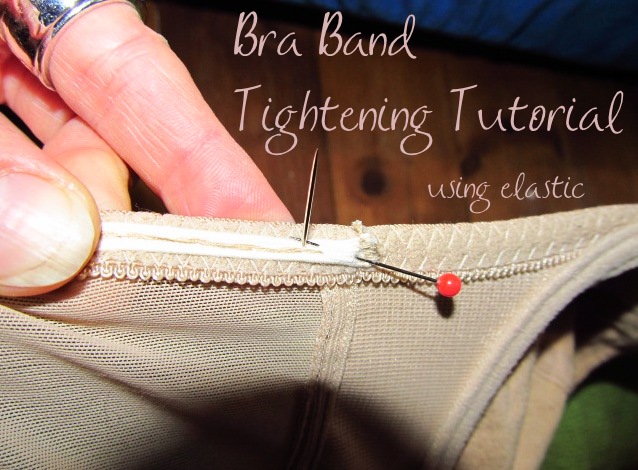
Sew the stretched elastic to the band: Somewhere I read that you should start in the middle and work your way to the ends. If you have a sewing machine, there is that nice zig-zag stitch, or even better: the mending stitch which is more stable. I used a back stitch, pulling the thread taut all the time.
I experimented around with finding the easiest way to sew... using my foot.
I realised that I have to reverse my back stitch so that the ugly side stays on the inside.
Ta-daa! Not very pretty from the inside...
But looks pretty good from the outside, don't you think?
Hope this is helpful! Also, I beg those of you who actually know how to really properly sew, to share your tips and criticism in the comments!


